
Raspberry Pi , Raspberry Pi Box, Camera, WiFi dongle GPIO Ribbon Cable40pin Sensor DS3231.
buy here Raspberry Pi , Raspberry Pi Box, Camera, WiFi dongle GPIO Ribbon Cable40pin Sensor DS3231.
How to set up Raspberry Pi, the little computer you can cook into DIY tech projects
You don't need an electrical engineering degree to build a robot army. With the Raspberry Pi B+,
you can create robots and connected devices on the cheap, with little
more than an Internet connection and a bunch of spare time.
The Raspberry Pi is a
computer about the size of a credit card. The darling of the
do-it-yourself electronics crowd, the Pi was originally designed to
teach kids computer and programming skills without the need for
expensive computer labs. People have used Raspberry Pis for everything
from robots to cheap home media centers.
The Pi sports USB ports,
HDMI video, and a host of other peripherals. The latest version, the B+,
sports 512MB of RAM and uses a MicroSD card instead of a full-size
card.
 Alex Campbell
 The Raspberry Pi B+ with a MicroSD card for scale.
Most people install a Linux
distribution called Raspbian onto the SD cards needed to boot the Pi.
Raspbian is a version of Debian Linux (the distribution Ubuntu is based
on) designed specifically for use on the Pi. Raspbian is also
recommended for new Pi users to familiarize themselves with the device
and the Linux operating system.
If the the big "L-word"
scares you, rest easy knowing that Raspbian ships with a familiar
graphical environment, complete with a web browser. And you can get your
Pi up and running in less time than it takes to bake an edible raspberry pie.
Ready? Let's get cooking.
Raspbian Raspberry Pi
Yield: One web-ready 2.2-inch x 3.4-inch Raspberry Pi. Processing time: about 20 minutes. Prep time: about 20 minutes.Before you start, gather everything you need in one place, preferably near your router.
Ingredients
- 1 Raspberry Pi B+, bare
- 1 USB mouse
- 1 USB keyboard
- 1 ethernet cable
- 1 monitor with HDMI (preferred) or DVI input
- 1 HDMI to DVI adaptor (optional)
- 1 USB cable with micro-USB connector (you can borrow this from an Android phone) and wall adapter
- 1 8GB MicroSD card with standard SD adapter
 Alex Campbell
 You probably already have
everything you need to start using your Raspberry Pi. You can borrow the
screen, keyboard and mouse from your PC while you tinker.
Required equipment
- Windows PC with SD card reader and Internet connection
Directions
On the Windows PC, download Win32 Disk Imager from SourceForge and a copy of Raspbian from RaspberryPi.org. Set aside time for downloads to finish.
Win32 Disk Imager should only take about 30 seconds to download on a fast connection, while Raspbian will take about 12 minutes.
While files are downloading, combine the mouse, keyboard, HDMI cable and ethernet cable with the Raspberry Pi.
Connect other end of
ethernet cable with your home router and the other end of the HDMI cable
to your monitor. If you chose to use a monitor with DVI only, use the
HDMI to DVI adaptor.
Alex Campbell
This Raspberry Pi has all
the necessary peripherals connected with the exception of the USB power
supply and the micro-USB card that houses the operating system.
Combine the micro-USB-tipped USB cable and wall adapter. Combine MicroSD card with SD card adapter. Set aside.
Once Win32 Disk Imager is finished downloading, install the software.
When Raspbian is done downloading, extract the IMG file to a handy location.
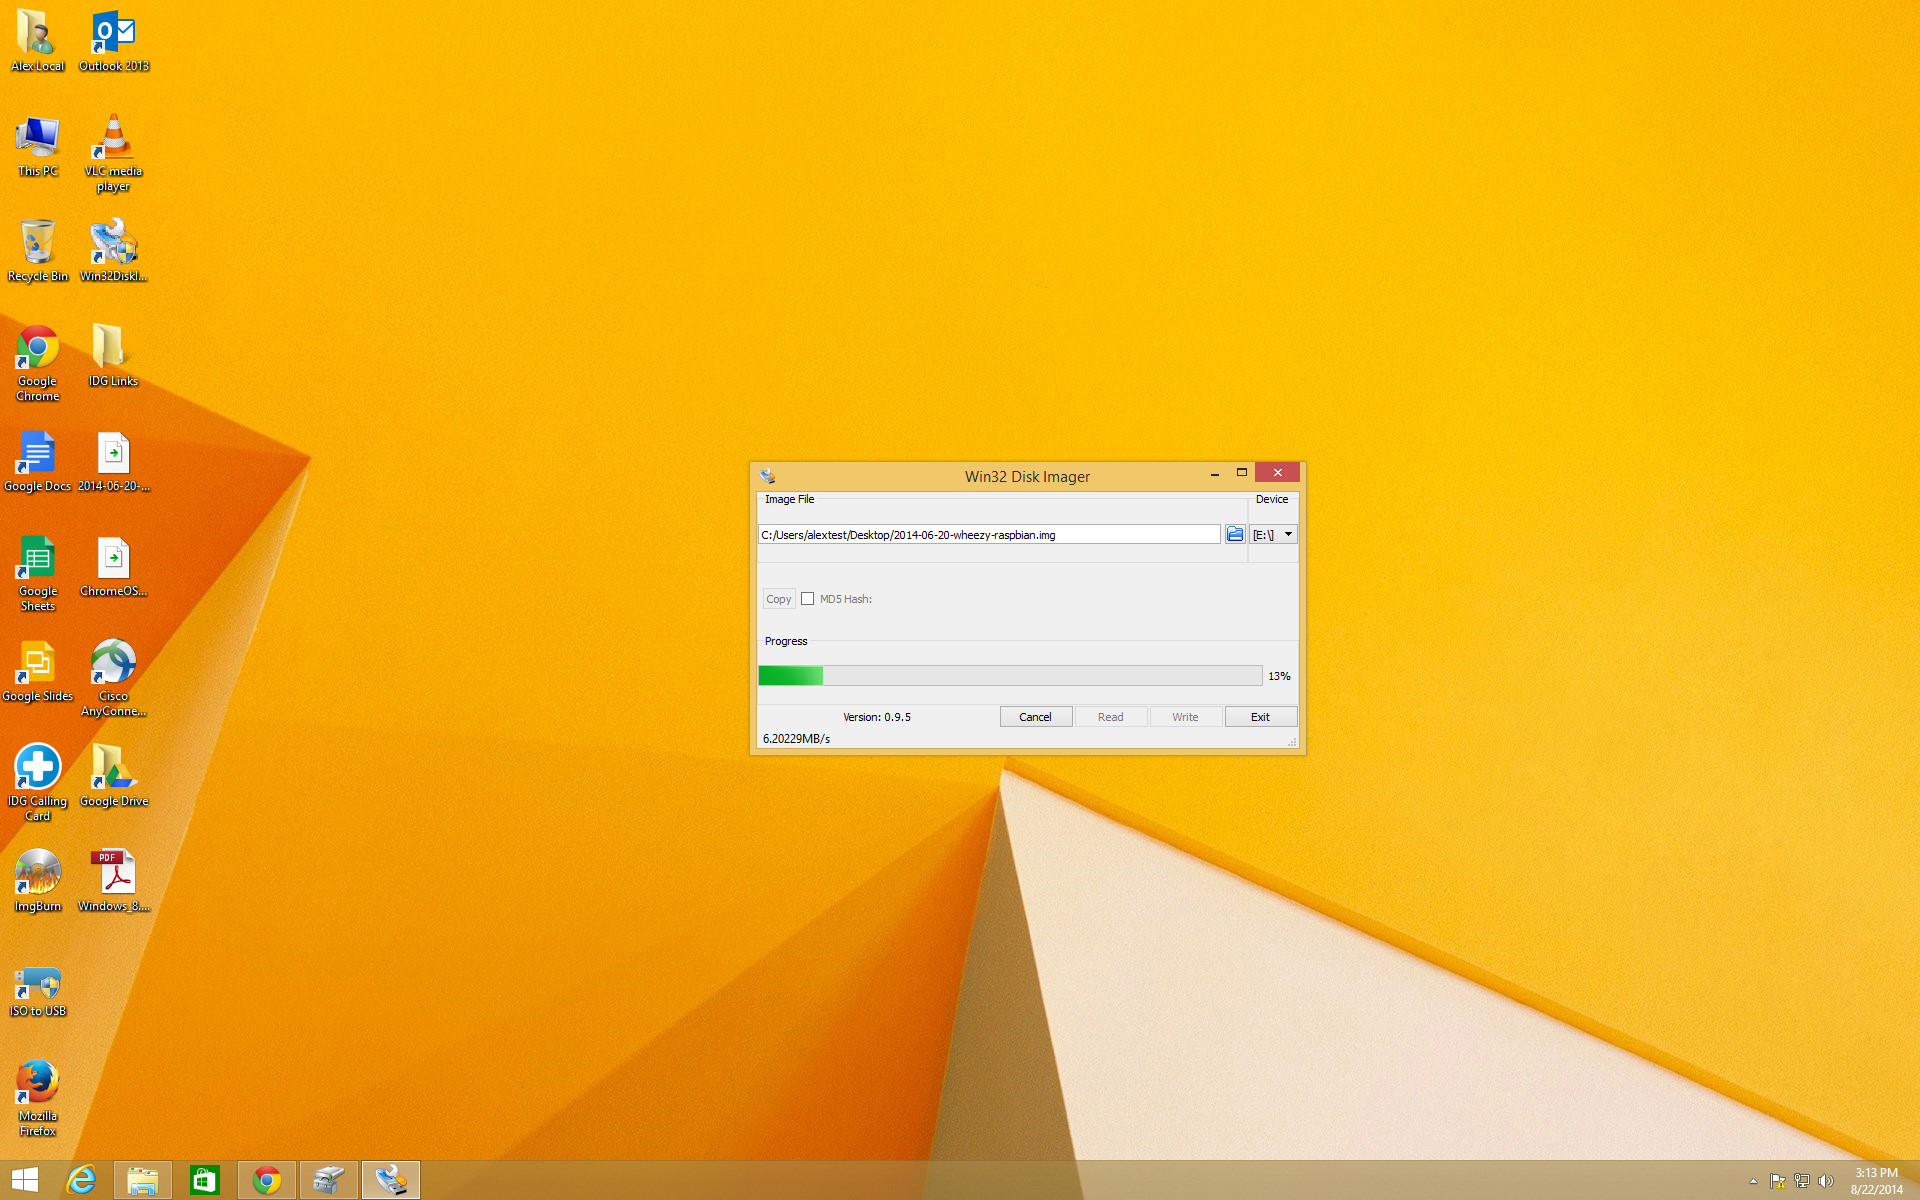
Insert the SD card adapter
into the PC's SD card reader and start Win32 Disk Imager as an
administrator. Click the folder icon to browse for the Raspbian IMG
file, click the drop-down menu under Device and select the appropriate
drive letter for the SD card. Click Write, and let the program run for about 7 ½ to 8 minutes.
When Win32 Disk Imager is finished writing, click OK and Exit.
Writing the Raspian image to the MiscroSD card will take about eight minutes.
Remove the SD card from
your PC and pull out the MicroSD card from the SD card adapter. Insert
the MicroSD card into the Raspberry Pi until it clicks securely.
Alex Campbell
The MicroSD card is inserted into a slot on the underside of the Raspberry Pi.
Plug USB power cable into the wall and into the Raspberry Pi to boot the computer.
The Raspberry Pi is powered by a micro-USB cable. The USB cable can be powered from a wall adapter or a PC that is turned on.
When the Pi boots, select the first option to format the remaining memory of the MicroSD card for use as storage.
Alex Campbell
In the Raspian setup system, use the arrow keys, the Tab key and the Enter key to navigate and select options.
Set your time-zone and
keyboard layout. Raspbian is set to use a U.K. language and keyboard for
layout, so be sure to set the keyboard and language to your local
language. For most people in the U.S., the standard U.S. keyboard layout
will work.
Once you've configured your options in the setup program, hit Tab and select Finish. On
the next screens, select appropriate "compose" keys, which are used to
create special characters. I used the right Ctrl and Alt keys as compose
keys because I rarely use them.
When the setup program finishes, log in to Raspbian with the user name pi, and the password raspberry. Next, typestartxto open the LXDE graphical desktop environment.
Once you log in as the user pi with the password raspberry, typestartxto launch the graphical desktop.


environment starts, you're good to go. While the Pi can handle web
applications like Google Apps, don't expect desktop-like performance.
Remember that the Pi is running desktop software on really cheap
hardware meant for mobile phones.
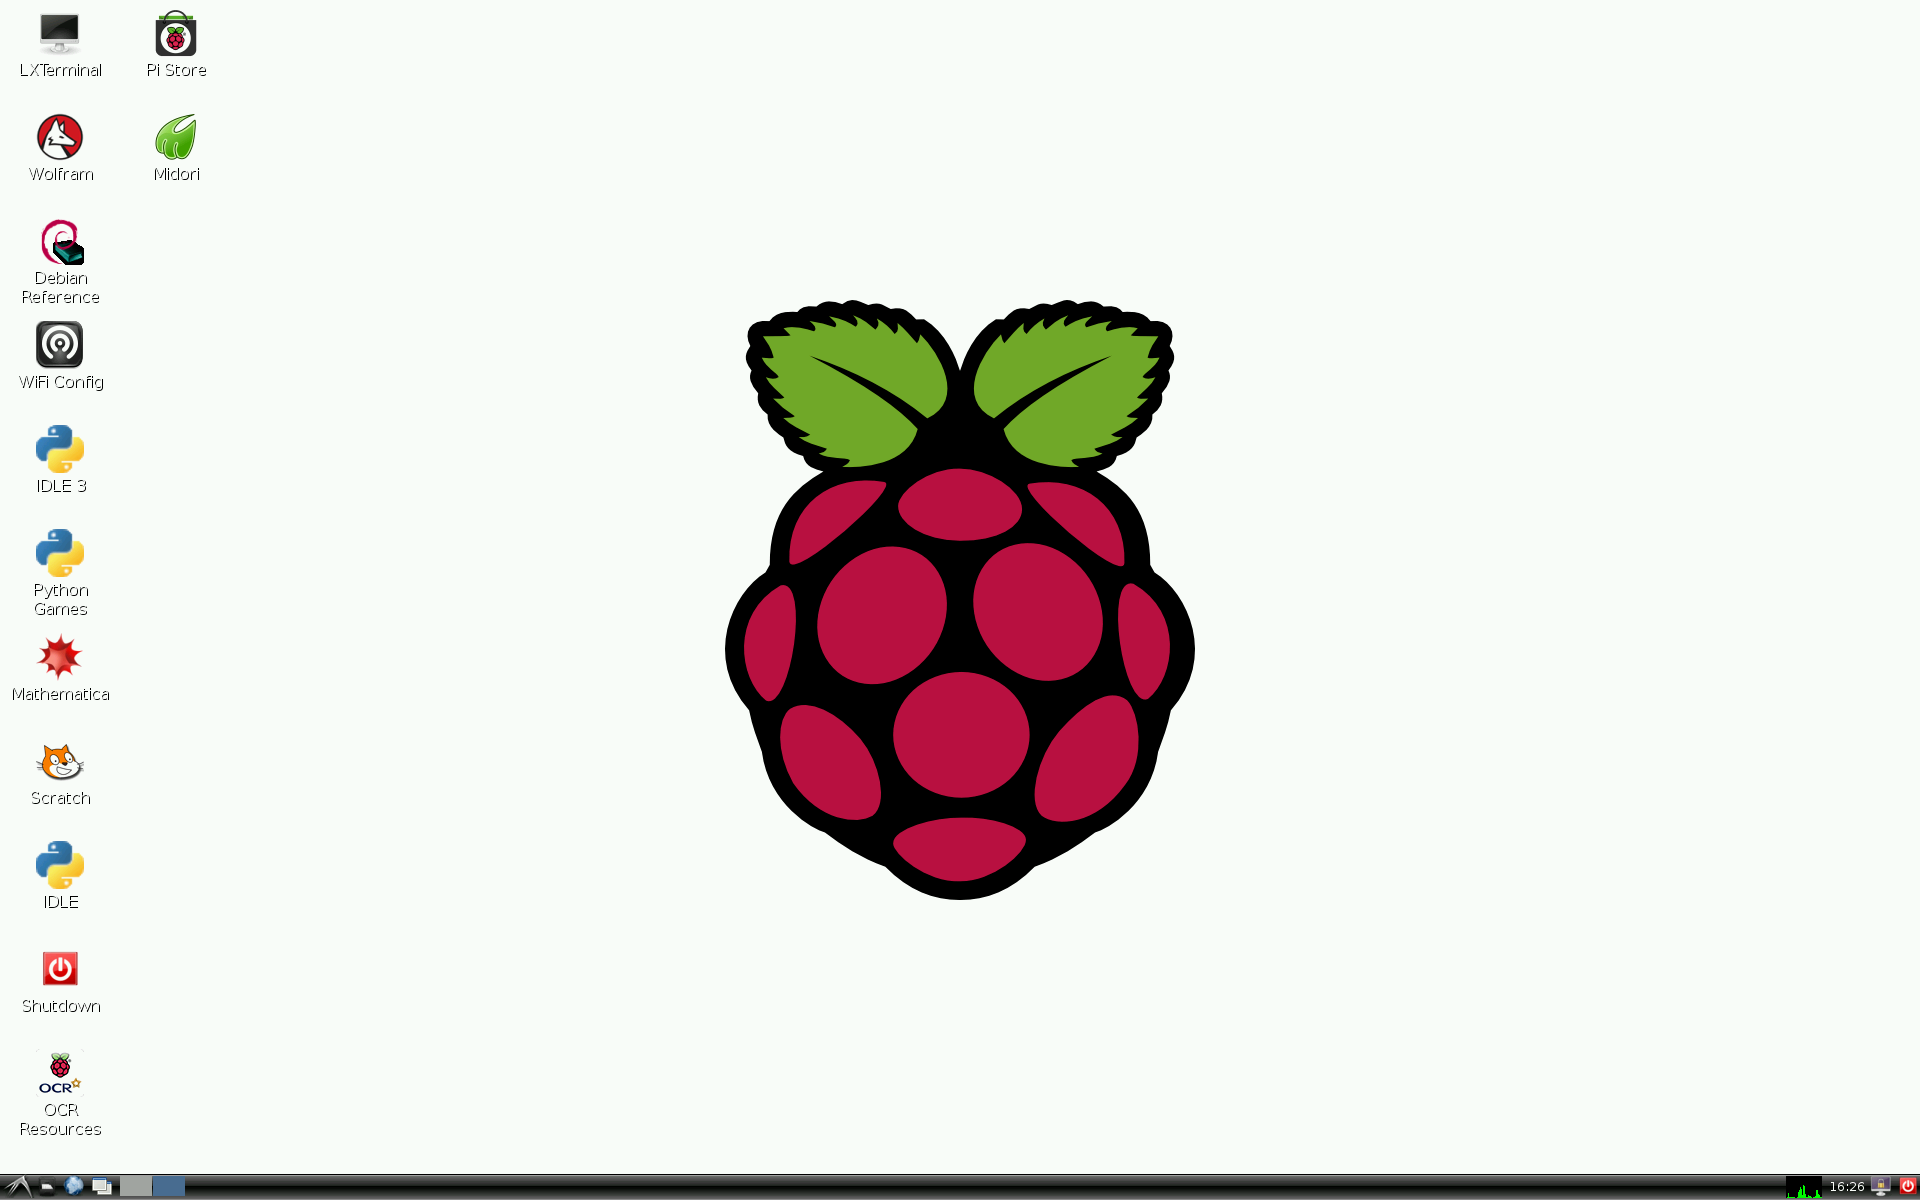
Raspian's lightweight LXDE
desktop has a layout that will be familiar to Windows users. Raspbian
comes with a web browser, Midori.
Raspbian comes preloaded with the Midori web browser. To install another browser like Chromium, you'll have to use a couple of commands with console program apt. But first, you'll have to update the list of packages available to apt. Type or paste the following into a console window:
sudo apt-get updateNext, open up a terminal and type sudo apt-get install <package name> to install the appropriate software package.sudo apt-get install chromium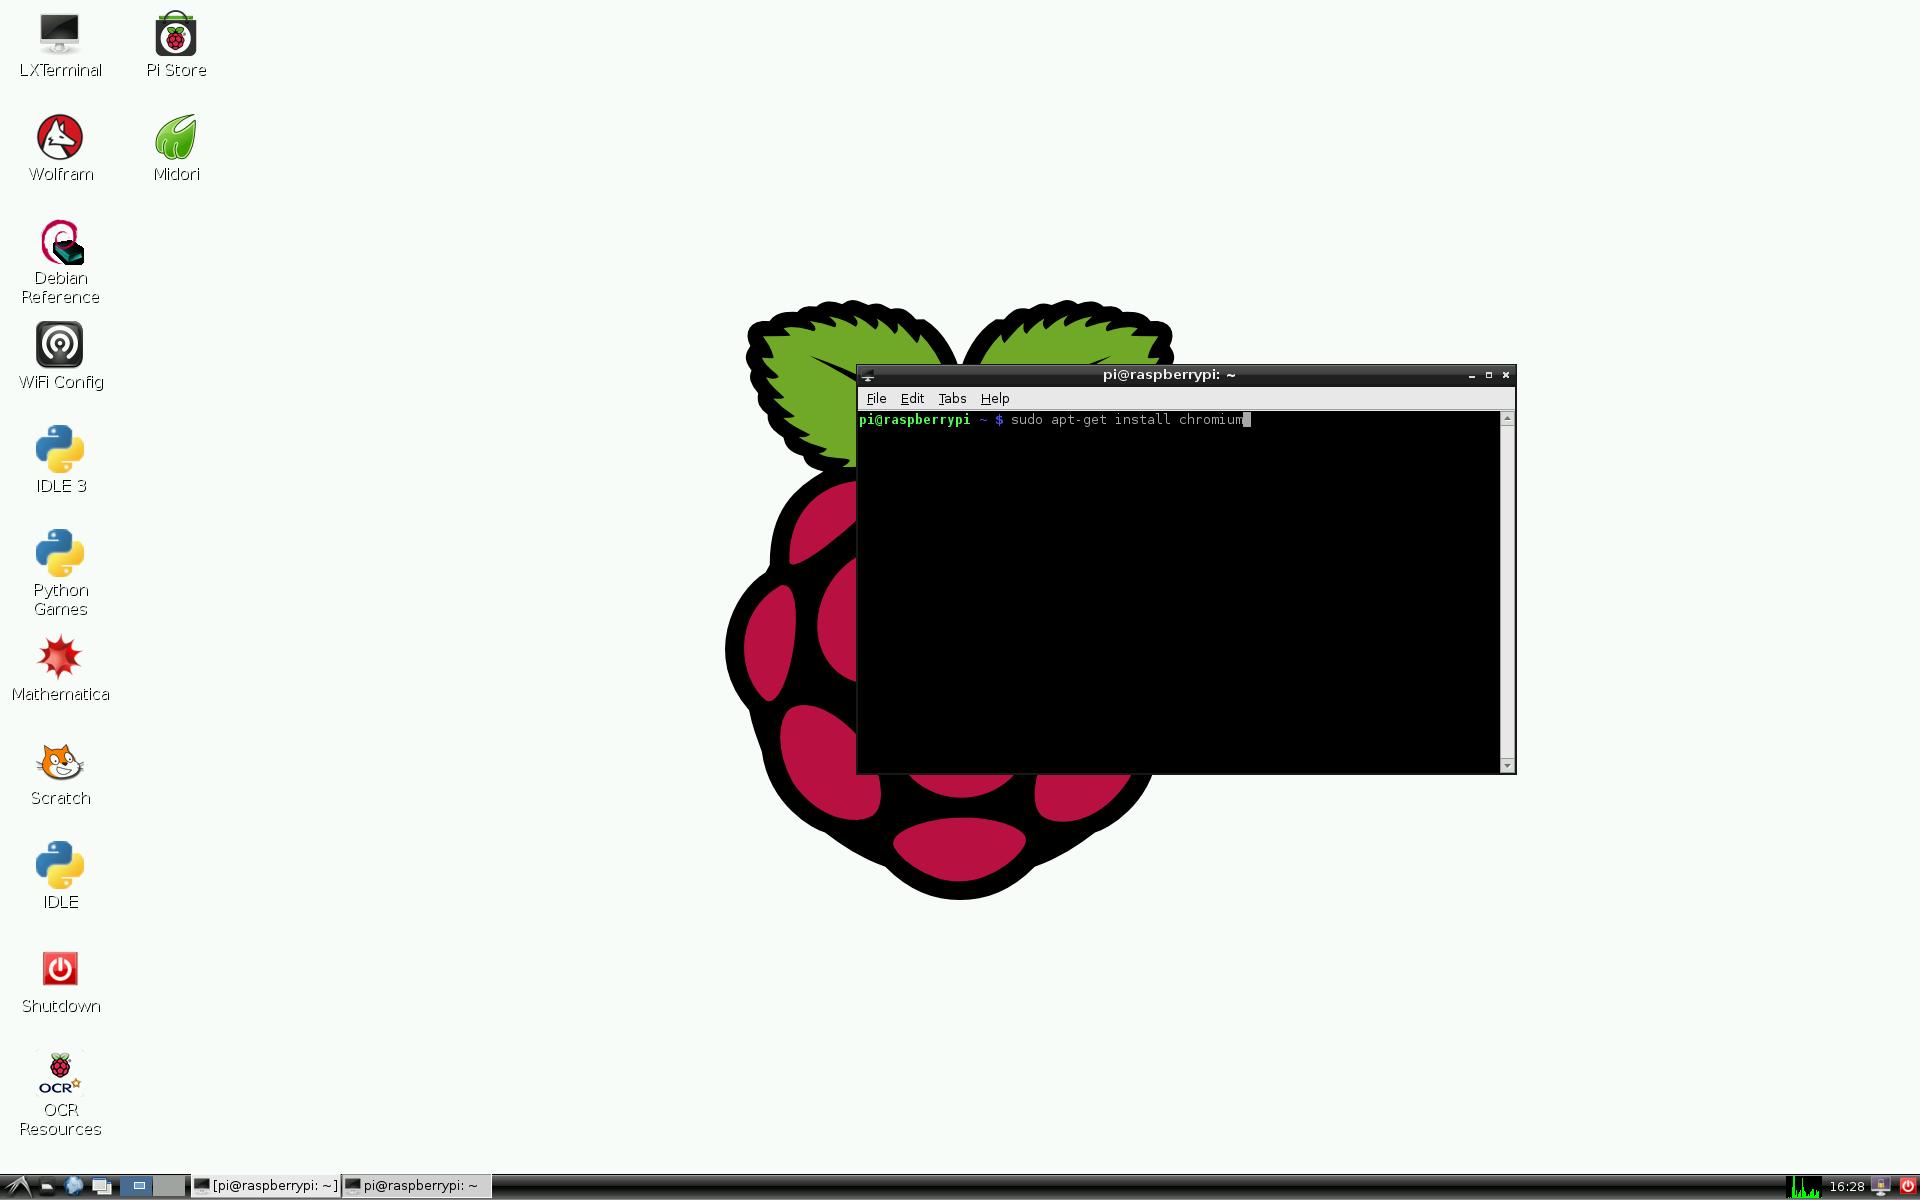
Installing software on Raspian is as easy as typing in a single console command.
You can use the apt
command to install everything from LibreOffice to the Apache web
server. A full list of Debian packages available for Raspbian is
available online.
To turn off your Pi, double-click Shutdown
on the desktop. Once the Pi's screen has gone dark and is no longer
showing text of any kind, simply unplug the Pi from its USB power
supply.
Once you feel at home with
Raspbian, you can try writing programs for the Raspberry Pi using
Python, or try your hand at other distributions like Pidora (a Pi-friendly version of Red Hat's Fedora Linux) or the Raspberry Pi version of Arch Linux.
Because the Pi is so cheap,
don't be afraid to experiment and break things. If you ever get in a
situation where your Raspbian installation is unusable, simply use Win32
Disk Imager to flash a fresh copy of the operating system onto your
MicroSD card and start anew.
Whether you have a big
project in mind or just want to learn how to program in Python, the Pi
is a great way to get a taste of what tiny computers can do.


